 Ever since seeing this post over at mel stampz, I have wanted to try making my own embossing template. The new set “Central Park” from SU! had the perfect stamps to give this a try with an outline stamp of a stem and 3 leaves and a filler stamp for the the outline.
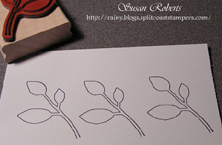
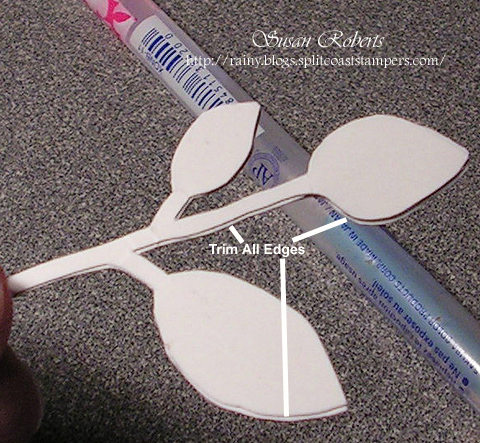
To make the template, I stamped the outline image 3 times on SU!’s Whisper White card stock and cut them out. (A light weight cardboard could also be used. However because of the tighter cutting required for this particular image, I opted to use card stock making it a bit easier to get into those more difficult areas with my scissors.)

Next I glued the 3 pieces together and trimmed any overlaps that occurred from the images not being cut out exactly the same. This is important in order to get a deep, crisp and clean embossed line.
Once the template was finished I ran it through my Cuttlebug. Be sure to use an embossing mat on the opposite side of the card stock from the template. This single image is actually the reverse of the stamped image.
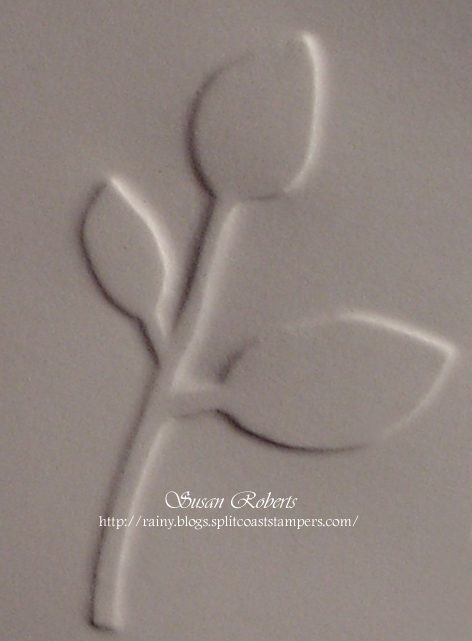
With this template, it can be run through in either direction!
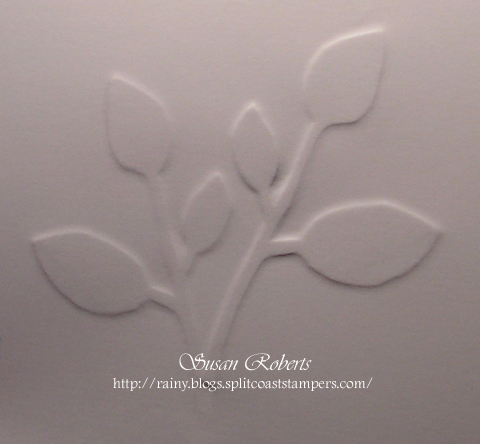
You can also use the positive or negative side of the embossed image. Here I have used my stamp-a-ma-jig to make sure the filler stamp was positioned right over the embossing.
The positive: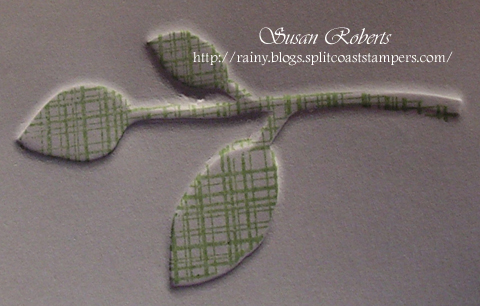
The negative: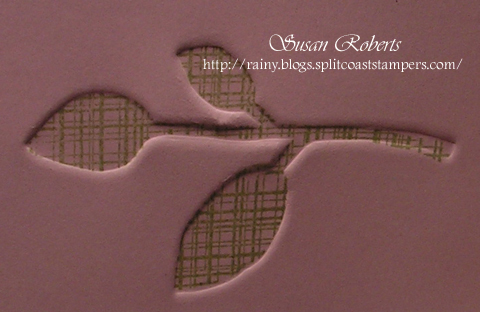
I added some faux stitching around the negative embossed image.

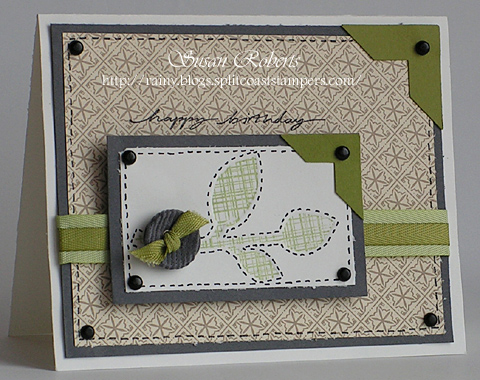
Here is the finished card.
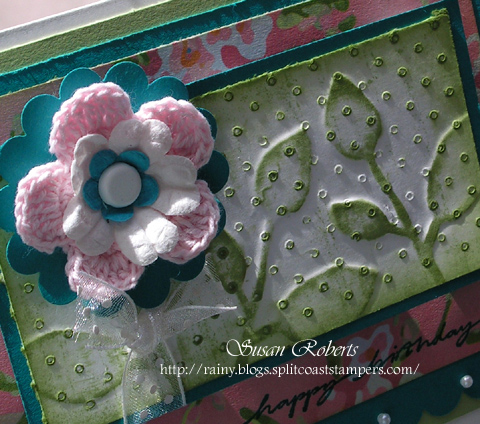
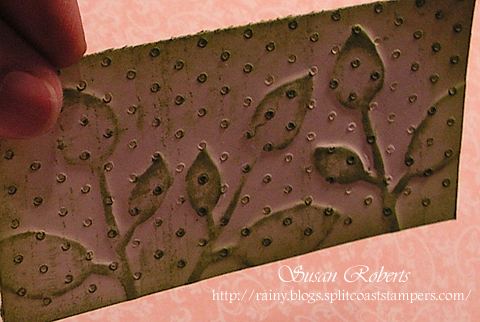
Well I was having so much fun that I decided to play some more. This time I started by embossing my card stock with the Swiss Dots embossing folder before using my Central Park template. Just for some embossing interest, I used the negative embossed Swiss Dots for the positive Central Park embossed image. And rather than using the filler stamp for the leaves, I distressed the embossing by rubbing my ink pad over the entire image several times.
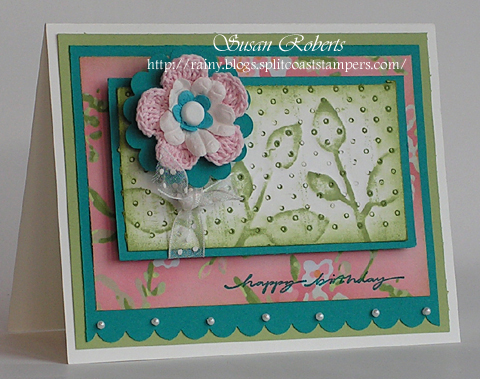
And the finished card… TOO FUN!!!
 Hope everyone has a wonderful and beautiful Easter!
——————————
Masculine Card: (SUO)
Stamps: “Central Park” and “On Your Birthday”
Papers: Whisper White, Basic Gray, Old Olive, and DSP “Bella Bleu”
Inks: Certainly Celery and Basic Black
Accessories: Old Olive 1/4″ Twill Ribbon, Certainly Celery Twill Ribbon, Basic Gray Corderoy Button, Brads, Photo Corners Punch
Feminine Card:
Stamps: SU! “Central Park” and “On Your Birthday”
Papers: SU! Whisper White, Taken with Teal and Certainly Celery; DCWV Designer Paper
Inks: SU! Certainly Celery and Taken with Teal
Accessories: SU! Fleurette, Scallop Circle Punch, Scallop Border Punch and Brad; Cuttlebug Swiss Dots Embossing Folder; Primas; Flatback Pearls; May Arts Ribbon


