Stampin’ Up! has a beautiful new embossing folder. I love it!
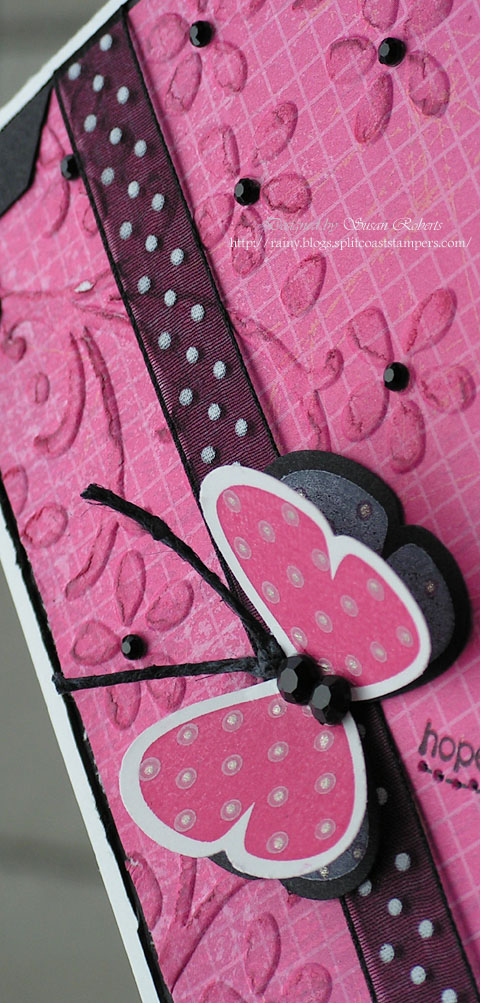
To get a distressed look on the raised portions of the embossing I have, in the past, either sponged the ink on or just applied the ink directly from the ink pad. This worked okay but some ink still managed to find its way onto the areas that had not been embossed. Recently I tried inking up my mirror image stamp and running that over the embossing. It worked like a charm!! I was so excited. Because the rubber is hard and flat the stamp touches only the raised portions of the card stock. NO ink is able to escape the embossing!
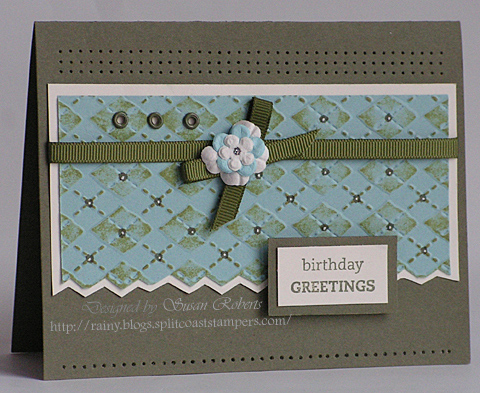
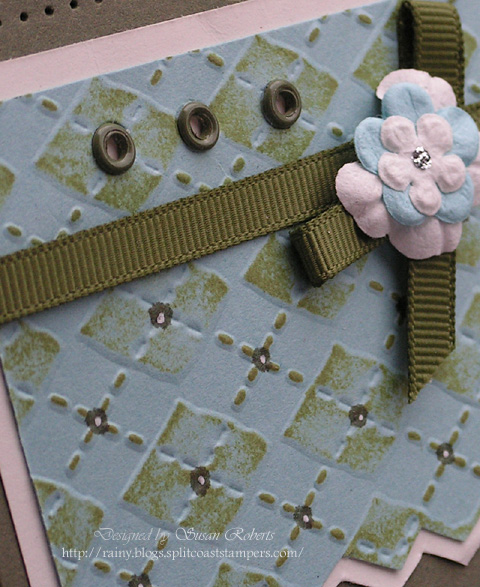
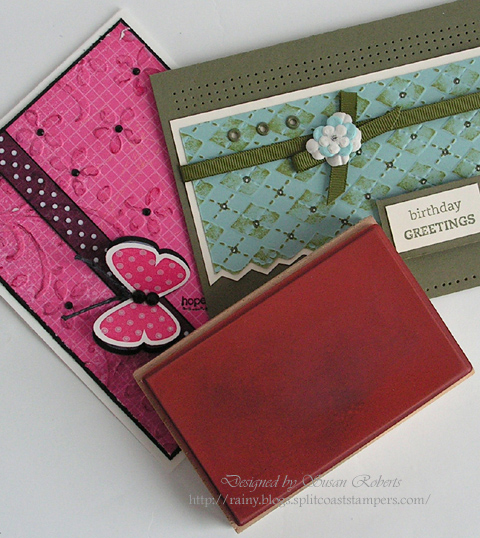
Here is another card using a Cuttlebug embossing folder.
See!! Absolutely no ink anywhere except on the embossing!
Perhaps everyone already knew about this technique? But I was so excited about it that I had to share it anyway. LOL
Happy Crafting!
——————————
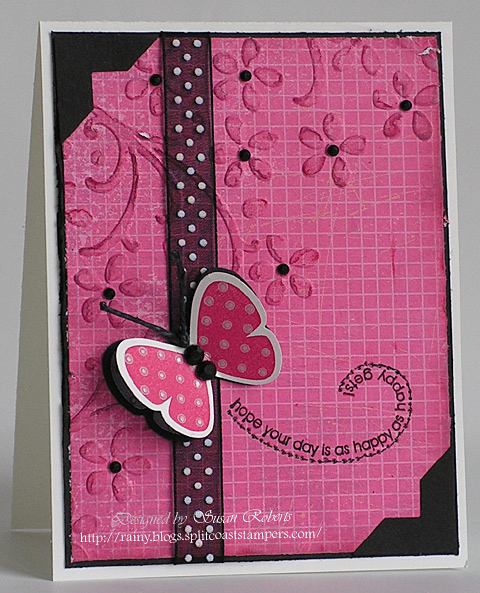
Pink Butterfly Card:
Stamps: SU! “Flight of the Butterfly”; Rubber Stampede Mirror Image Stamp
Papers: SU! Whisper White, Basic Black; “Razzleberry Lemonade” DSP
Inks: SU! White Craft, Rose Red Classic, Basic Black Marker; ClearStar Glitter Pen; Black Gel Pen
Accessories: May Arts Ribbon; Kaiser Rhinestones; SU! Hemp Twine, Piercing Tool and Template, Butterfly Punch, Photo Corners Punch, “Elegant Borders” Embossing Folder
——————————-
Green Argyle Card:
Stamps: SU! “On Your Birthday”; Rubber Stampede Mirror Image Stamp
Papers: SU! Always Artichoke, Baja Breeze, Very Vanilla
Inks: SU! Always Artichoke, Certainly Celery; White Gel Pen
Accessories: SU! GG Ribbon, Piercing Tool and Template, Always Artichoke Eyelets; Cuttlebug “Argyle” Embossing Folder; Primas; Stickles


