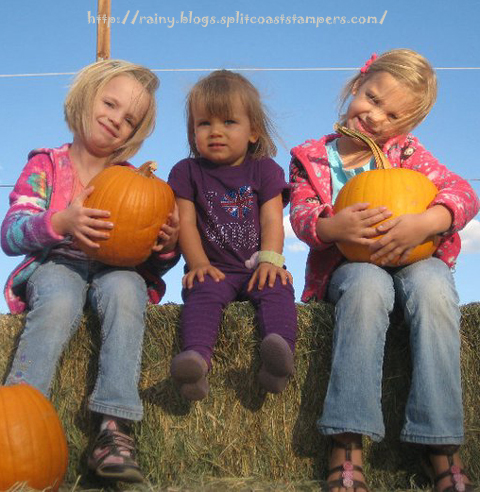
Here are the cards that I made for my granddaughters for Halloween.

These sweet girls just melt my heart. 
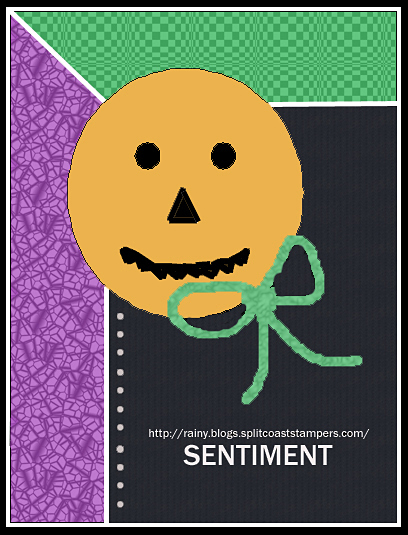
After drawing up a sketch, I made the cards for the twins.
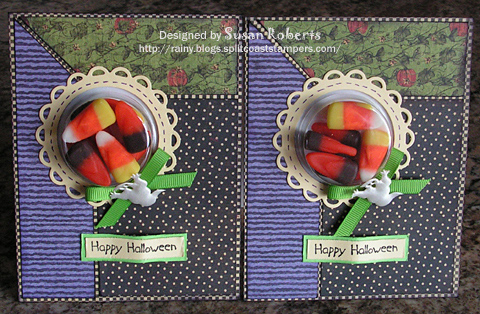
Last year these treat cups were used for their birthday cards, too.

But there was no way to get to the candy without destroying the cards. So this time I made sliders to access the candy. I used this great tutorial for them. Thank you, Cindy!
I took some pictures along my journey making these sliders, as well.
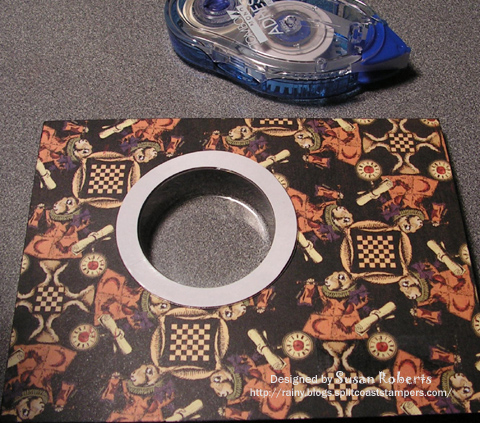
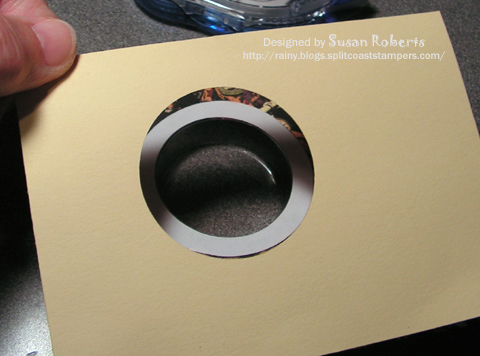
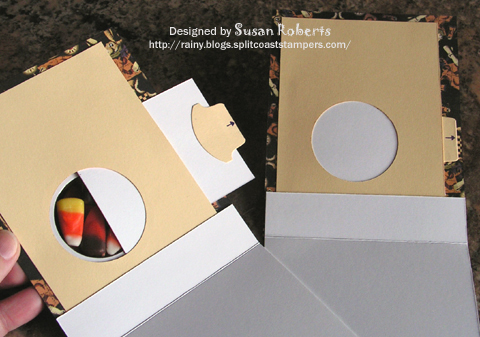
The card fronts were made according to the sketch. Using one of the Circles Nestabilities, circles were cut in the card fronts. The card fronts were then used as templates to mark the position of where to cut the circle in their backing.
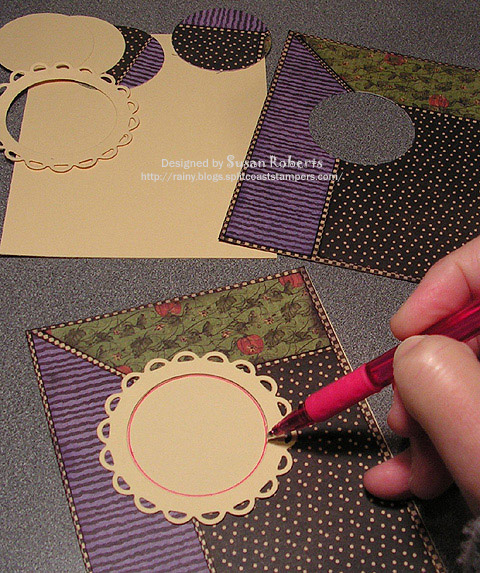

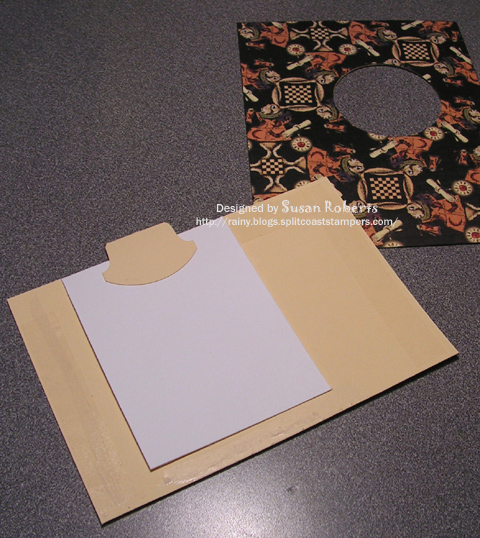
The backings were trimmed leaving a wider border on the side where the slider tabs would be.

I made sure that the sliders were large enough to cover the holes when fully closed.

When the tape was placed on the backings, I was careful to leave enough room for the sliders to function properly without coming in contact with any adhesive.
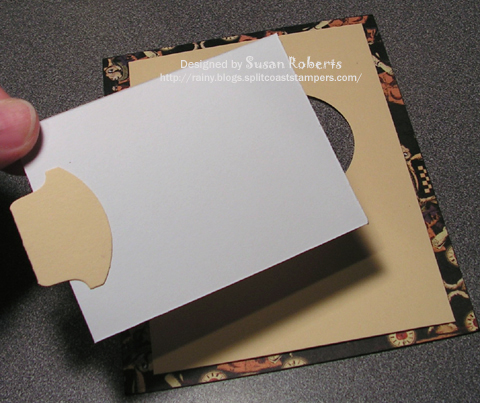
Before adhering the backings in place, the cups were put into the card fronts.
The backings were then adhered to the card fronts.
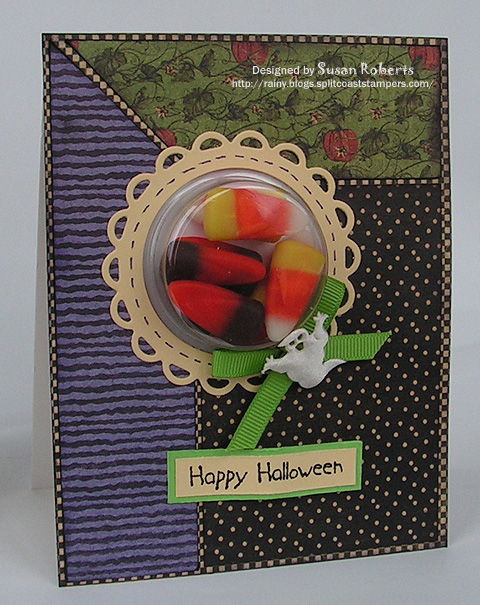
Card bases with a 1″ front were made and adhered to the card fronts. The candy was placed in the treat cups and the sliders were put into place.
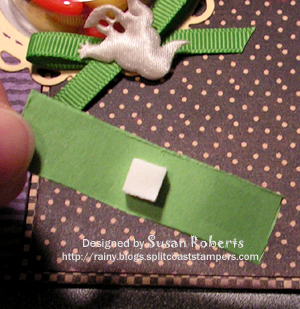
The sentiment panels were bent to form a wave. A small foam tape square was placed on the center back, and regular adhesive was placed on each side. (The foam tape will keep the “bump” in the sentiment panels once they have been adhered to the card fronts.)
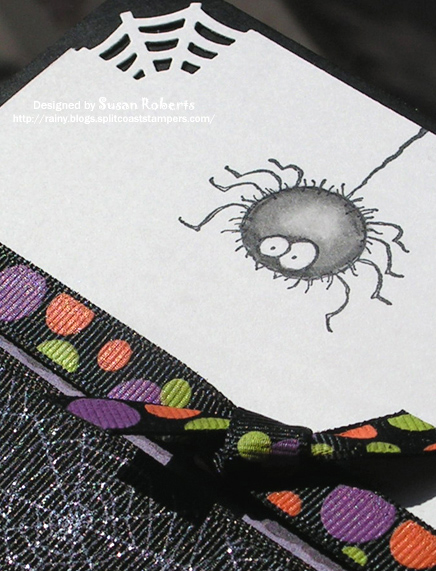
And here is little Kate’s card.
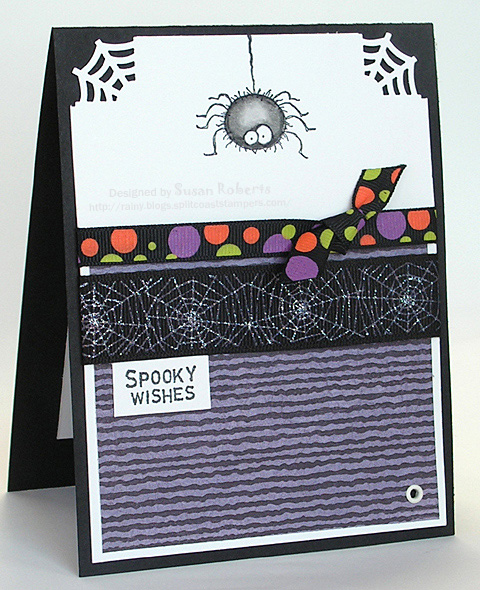
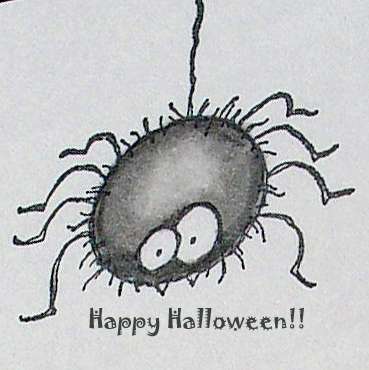
The spider was colored with Copics.
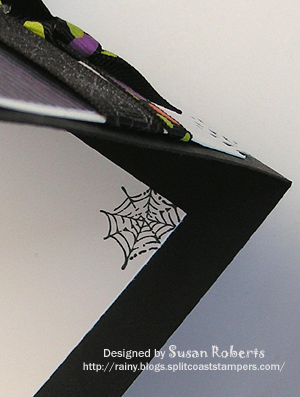
It took no time at all, but gave a little touch of fun to stamp a quick spiderweb to the inside of the card.
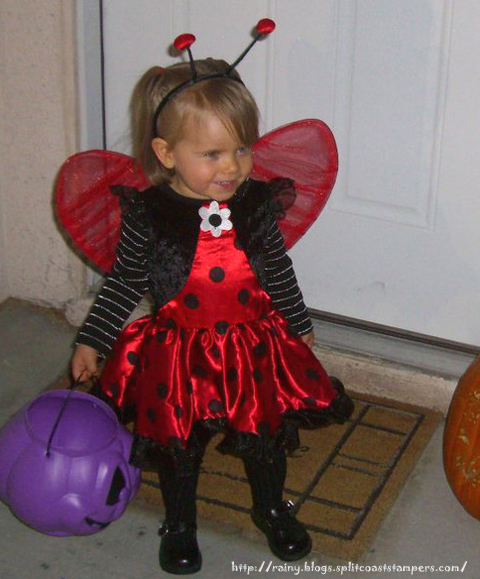
Here is my little ladybug Kate all ready to go trick or treating.
![]()
Hope everyone has a safe and..
![]()
——————————
Twins’ Cards:
Stamps: American Art Stamp “Halloween”
Papers: PaperTrey Ink “Select White”; SU “Barely Banana” and “Green Galore”; Graphic 45 “Hallowe’en in Wonderland” Collection
Inks: SU “Basic Black”
Accessories: Nestabilities “Classic Circles” and “Lacey Circles”; SU Tab Punch; GG Ribbon and Satin Ghost; SU Treat Cups; Candy Corn 🙂
Kate’s Card:
Stamps: SU “Booglie Eyes”; American Art Stamp “Spooky Wishes” Michael’s Dollar Bin Spider Web
Papers: PaperTrey Ink “Select White” and “True Black”; Graphic 45 “Hallowe’en in Wonderland” Collection
Inks: Memento “Tuxedo Black”; Copics: T0, T3, T7
Accessories: Martha Stewart “Spiderweb” Corner Punch; Eyelet; GG Ribbons from Michael’s


Thanks for such a fabulous detailed tutorial! Your cards are all fantastic, and I can’t believe how the twins have grown! Time flies! Kate looks so CUTE dressed up as a ladybug! Happy Halloween!!
Sweet little granddaughters and adorable cards. Hope they have a great Halloween time. Pat
Your grand daughters are precious 🙂 No wonder you are a proud grandma 🙂 What a brilliant idea to make the slider for the card. Love the spider on the second one. Great work.
Oh Susan, your granddaughters are so precious! And they are going to be thrilled with their fabulous Halloween cards!
The girls are all so beautiful Susan . . . you’re very blessed! Oh my, are they ever going to love those cards . . . eeek . . . it’s a shame to rip them apart for that yummy candy!
Your little granddaughters are all sooo cute, Susan, and the Halloween cards you made for them are all FABULOUS!!! Thanks for the tutorial…I’ll have to give this a try!!!! Kate is the cutest ladybug I have ever seen….hope she had fun trick or treating!!!!
Ooooh these cards are too cute!! Thanks for the hot tip on the slider for the candies. It would be a shame to destroy this card. Your little girls are just beautiful. Happy Halloween to you to.
Your granddaughters are so darling! The cards you made for them look wonderful. I LOVE that you added the sliding door. That is so cool.
Happy Halloween!
Hugs and smiles
Ohhhhhhh my word are those girls just BEAUTIFUL! Love the ladybug costume! Kara (my 5-year-old) is sitting here with me, saw the picture, pointed to it and said “Awwwwwww, she’s so cute!” 🙂
SUPER cute cards, too. They’re going to LOOOOOOVE them. 🙂
What a fun Halloween cards! Love the idea with the cup treats inside! Thank you so much for sharing tutorial, Susan! Love the little spider on card for Kate’s card!
The pictures you shared are so sweet and precious! 🙂
Happy Halloween!!!
Too cute…love the pix of your granddaughters. Thanks for sharing.
So cute! Your granddaughters are adorable. Loved that little ladybug. Great cards, fun and cute.
sweet girls!! And I love your cute layout!
This tutorial is terrific Susan. I love this idea.. Your grandkids are so sweet.. Awwww I bet they are not too spoiled by you.. Great pictures.
Oh the girls are PRECIOUS, love your cards!!
Susan, these are so clever with the slider! Fabulous idea! The cards are adorable and your halloween cutie is so sweet!
Awesome cards, Susan! Thanks for sharing deets and for sharing pix of those adorable little girls!!!
these cards are too cute and neat how you can get the candy out without destroying the packaging.
Your granddaughters are little cuties too!
The cards are adorable (love that little spider) and your grand daughters are just too sweet! I can see why they melt your heart! 🙂
What cutie pies.
Love your clever idea to get the candy out.
Of course, they melt your heart! They’re just darling, and what a SWEET picture of the three of them. Your little ladybug is too adorable! Love your cards, and thank you for the how-to. Super cute and a very clever design, Susan!
These are SO fun!!! My mom loves to send my kids Halloween cards too! I bet your grandkids were as thrilled as my own were! 🙂
Spooky halloween wishes
Greetings.net