Lots of Christmas cards to share today. They’re making a stop here before being sent on their way!
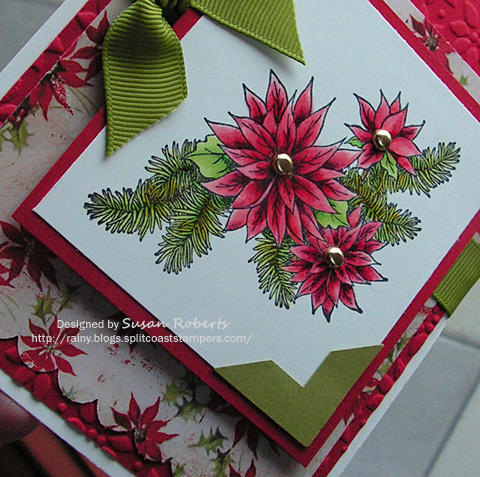
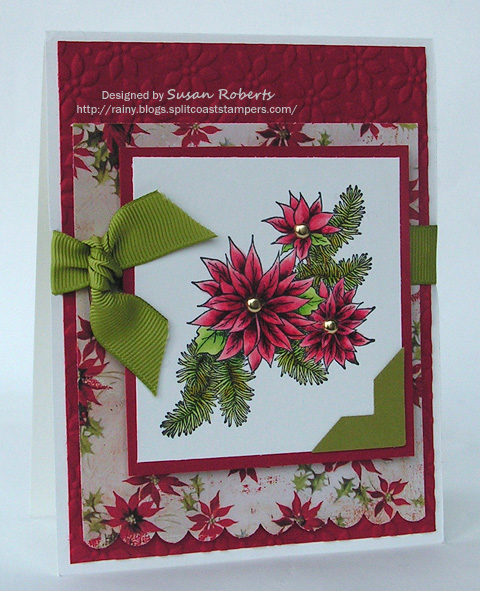
This card uses the “Bells and Boughs” set from SU’s Holiday Mini. It is colored with Copics.
(At the end of my blog posts I usually list the “recipes” for the cards. But today, because of the number of cards posted, I will put the recipe for each card directly following that card. This will make it easier for those interested to find the ingredients used for each specific card.)
Poinsettia Card
Stamps: SU Bells & Boughs
Papers: SU Whisper White and Old Olive; Papertrey Ink Pure Poppy; Daisy D’s Paisley Sugarplum Designer Paper
Inks: Memento Tuxedo Black; Copics:
![]()
![]()
![]()
![]()
![]()
![]()
![]()
![]()
![]()
![]()
Accessories: GG Ribbon, Brads, SU Corners and Scalloped Edger Punches and Petals-a-Plenty Embossing Folder
——————————
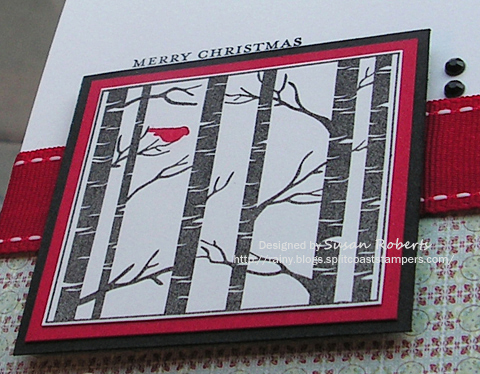
Love this birch tree image from Papertrey Ink.
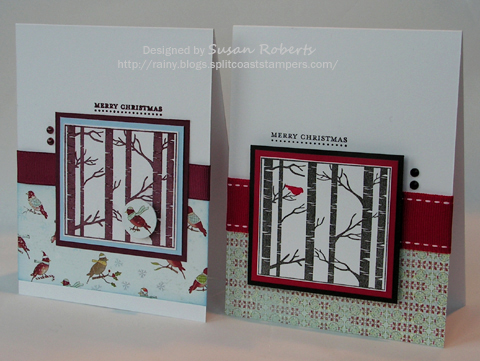
On the first card, a small bird was punched from Memory Box’s “Mistletoe” designer paper and popped up on the trees.
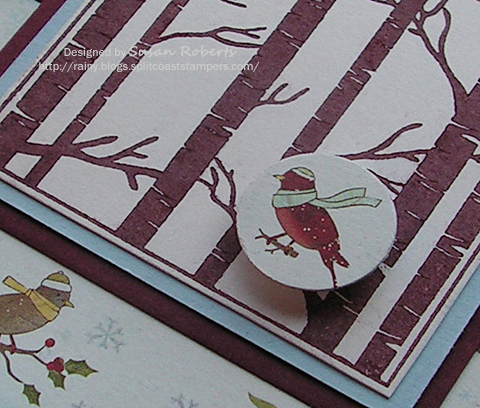
On the second card one of the bird images from the set was stamped with Craft ink.
Brown Birch Tree Card
Stamps: Papertrey Ink Through the Trees; SU Teeny Tiny Wishes
Papers: Papertrey Ink Select White; SU Bravo Burgundy and Bashful Blue; Memory Box Mistletoe Designer Paper
Inks: SU Bravo Burgundy and Bashful Blue (for sponging)
Accessories: GG Ribbon; Kaiser Pearls; 3/4″ Round Punch
Black Birch Tree Card
Stamps: Papertrey Ink Through the Trees; SU Teeny Tiny Wishes
Papers: Papertrey Ink Select White, True Black and Pure Poppy; Memory Box Mistletoe Designer Paper
Inks: Archival Brilliance Graphite Black; SU Real Red Craft
Accessories: 1″ Double Stitched GG Ribbon; Kaiser Rhinestones
——————————
As time got short, several cards with the same design had to be made.
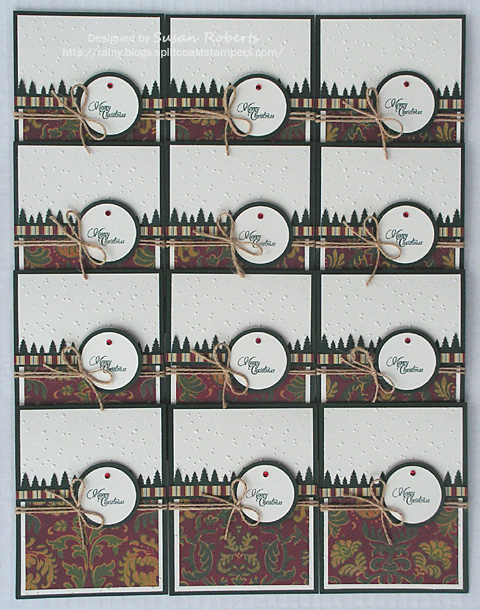
I’m not a big fan of mass production, but this was a very fun, quick and easy one to do.
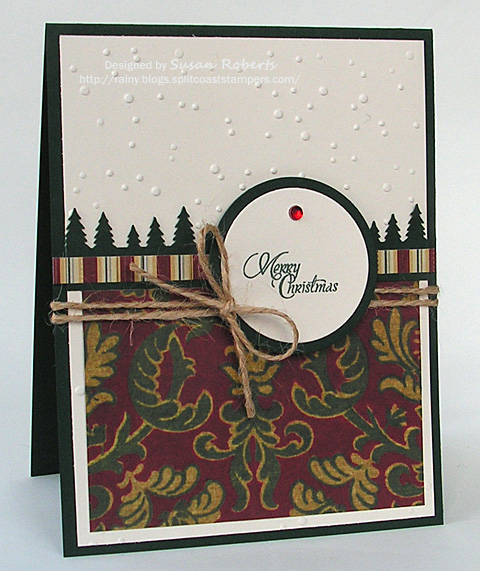
Love how the twine gives a touch of country charm.
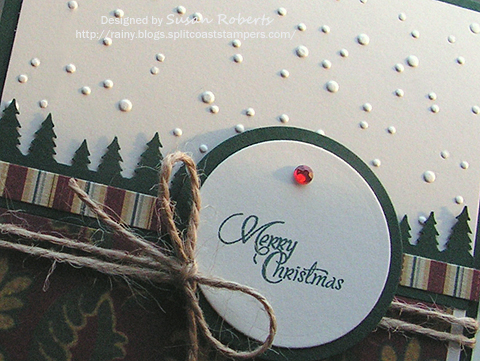
Punched Trees Cards
Stamps: Verve O Christmas Tree
Papers: Papertrey Ink Vintage Cream and Pinefeather; Webster’s Pages Wonderfall Designer Paper (stripe); K & Company Christmas Cheer Designer Paper
Inks: SU Handsome Hunter
Accessories: Kaiser Rhinestones; Cuttlebug Snowflake Embossing Folder; Martha Stewart Pines Border Punch; Classic Circle Nestability Die; Twine
——————————
I wasn’t going to post or use this next card until my son, seeing all the various cards spread across the dining table, said that this one was his favorite. Must have a masculine appeal to it that I don’t appreciate!
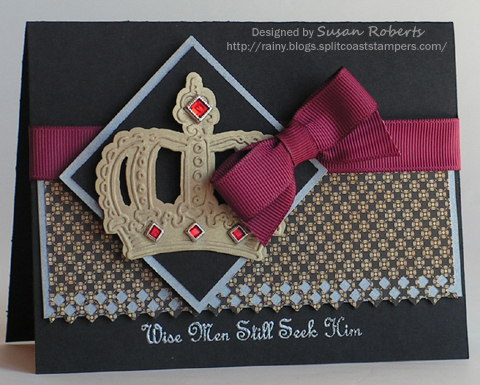
Crown Card
Stamps: Flourishes City of David
Papers: Papertrey Ink True Black, SU Gold and Silver Metallic; Graphic 45 On the Boardwalk Designer Paper
Inks: Versamark
Accessories: Silver Embossing Powder; GG Ribbon; Cuttlebug Crown Die Cut & Embossing Folder; Fiskar’s Edger Punch; Brads
——————————
This next design is one that I CASEd from a card kit that I saw on Ebay. Unfortunately the auction ended, and I did not remember to record the designer of this clean and simple beauty.
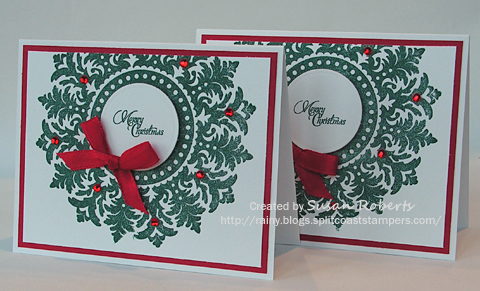
This is such a creative use of this large medallion stamp from SU. The center sentiment circle was cut out using a Circle Nestability Die and then popped up with foam tape.
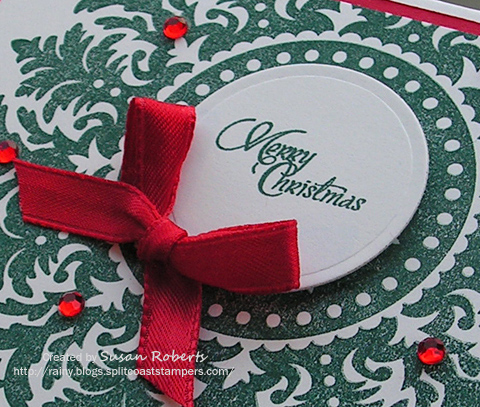
Medallion Wreath Card
Stamps: SU Medallion; Verve O Christmas Tree
Papers: Papertrey Ink Select White and Pure Poppy
Inks: SU Handsome Hunter
Accessories: Classic Circle Nestability Die; Kaiser Rhinestones; Satin Ribbon
——————————
This silhouetted bird image from Inkadinkado is stamped directly on to the designer paper.
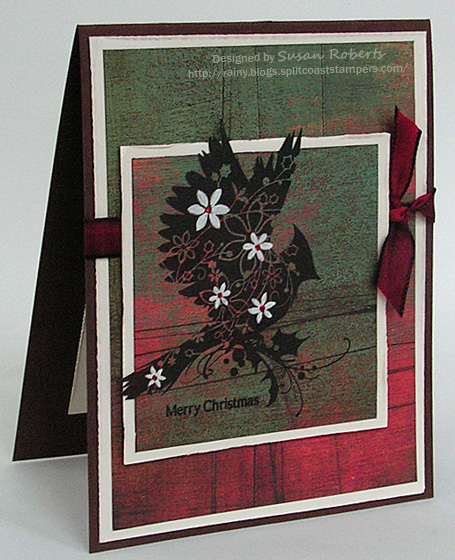
A few of the flowers in the design were filled in with a white gel pen. Stickles was added for some sparkle.
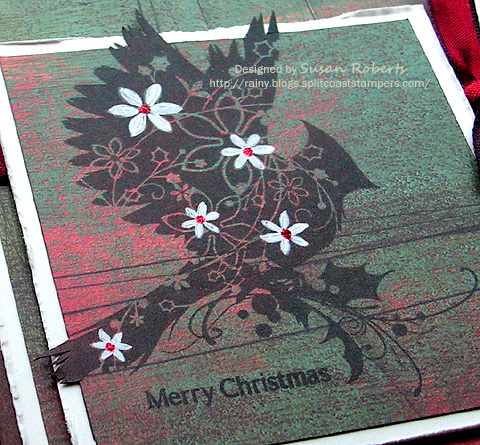
Silhouetted Bird Card
Stamps: Inkadinkado Winter Birds and Papertrey Ink Sign Language
Papers: Papertrey Ink Vintage Cream and Dark Chocolate; Basic Grey Designer Paper
Inks: Archival Jet Black; White Gel Pen
Accessories: Stickles; Satin Ribbon
——————————
The final pair of cards uses Tim Holtz’s “Reindeer Flight” die cut and his “Tall Pines” embossing folder.
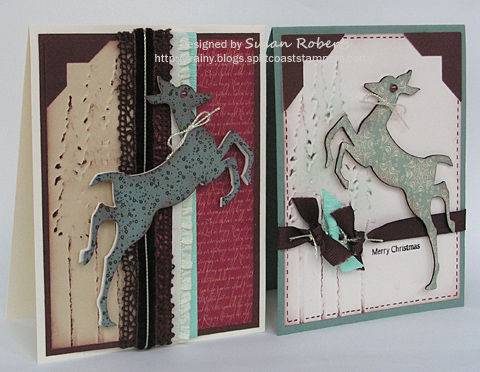
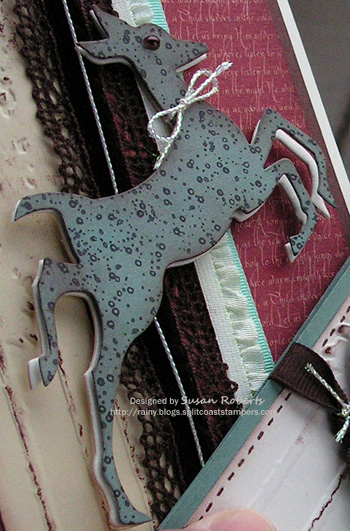
On the first card the designer paper and the Essentials by Ellen Craft-a-Board were cut separately and then adhered together with foam tape.
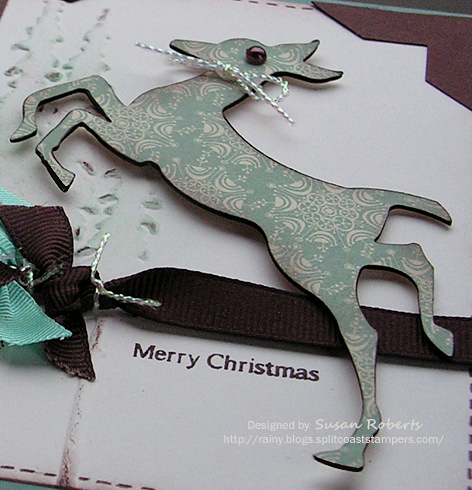
On the second card however, the designer paper was adhered to the craft-a-board before cutting out the reindeer. Then both the paper and craft-a-board were cut at the same time. This method worked much better and is what I would recommend.
Reindeer Card #1
Stamps: SU Itty Bitty Backgrounds (stamped on reindeer cardstock)
Papers: Papertrey Ink Vintage Cream, Fine Linen, Ocean Tides and Dark Chocolate; Webster’s Pages Waiting for Santa
Inks: SU Chocolate Chip and Close to Cocoa
Accessories: Essentials by Ellen Craft-a-Board; Tim Holtz’s Reindeer Flight Die Cut and Tall Pines Embossing Folder; GG Ribbon; Velvet and Lace Ribbon; Ruffled Ribbon; Metallic Rope; Kaiser Pearl; SU Corners Punch
Reindeer Card #2
Stamps: Papertrey Ink Sign Language
Papers: Papertrey Ink Vintage Cream, Fine Linen, Ocean Tides and Dark Chocolate; Webster’s Pages Waiting for Santa
Inks: SU Chocolate Chip, Close to Cocoa and Handsome Hunter
Accessories: Essentials by Ellen Craft-a-Board; Tim Holtz’s Reindeer Flight Die Cut and Tall Pines Embossing Folder; GG Ribbons; Metallic Rope; Kaiser Pearl; SU Corners Punch

Thanks for dropping by today. Hope that everyone is having a wonderful Holiday Season.


