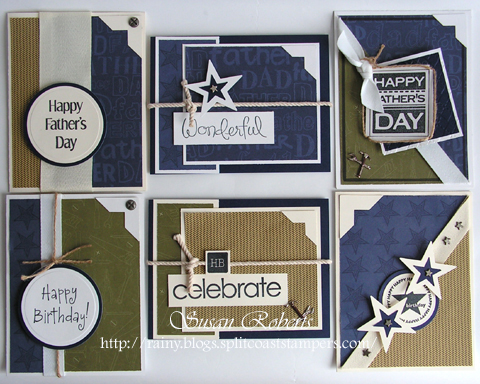
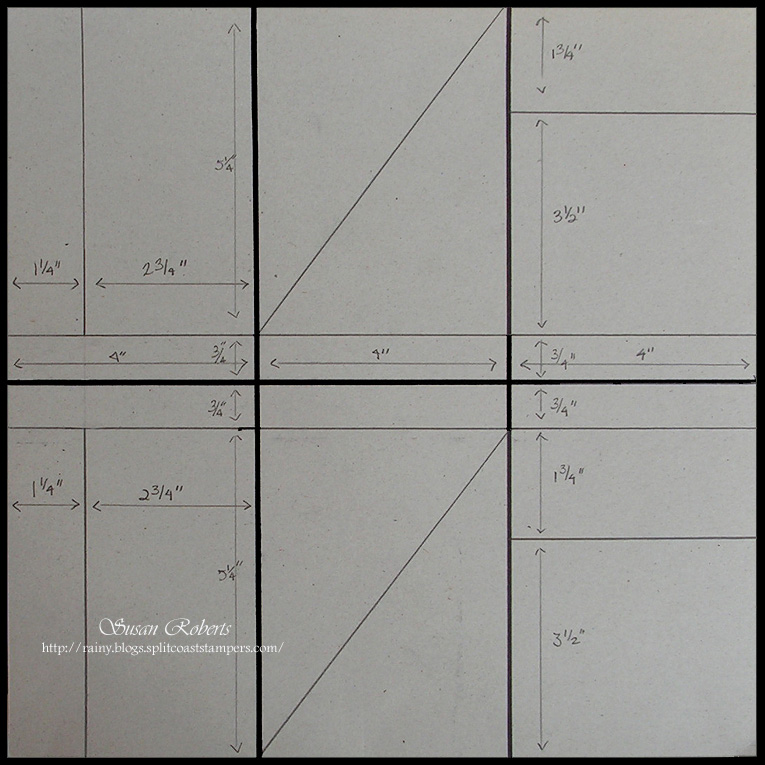
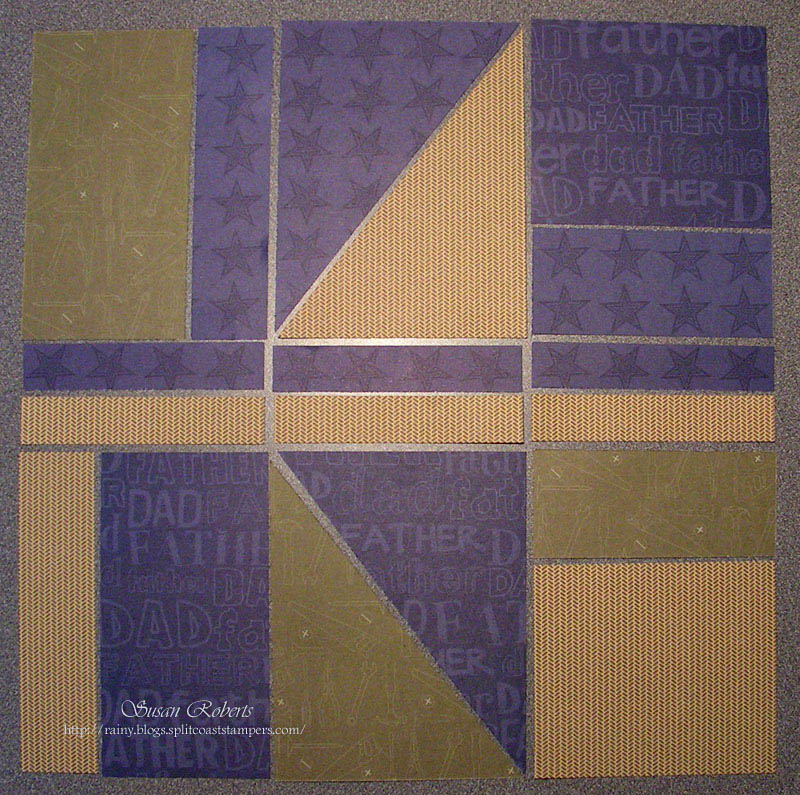
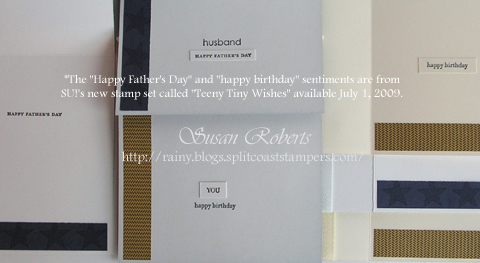
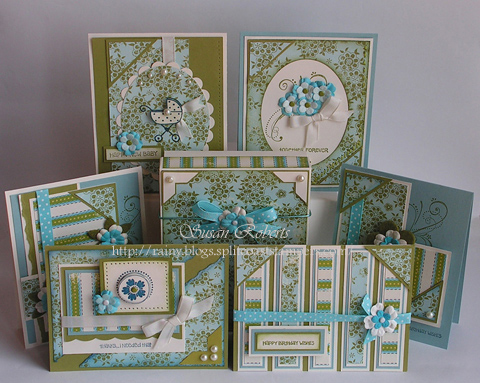
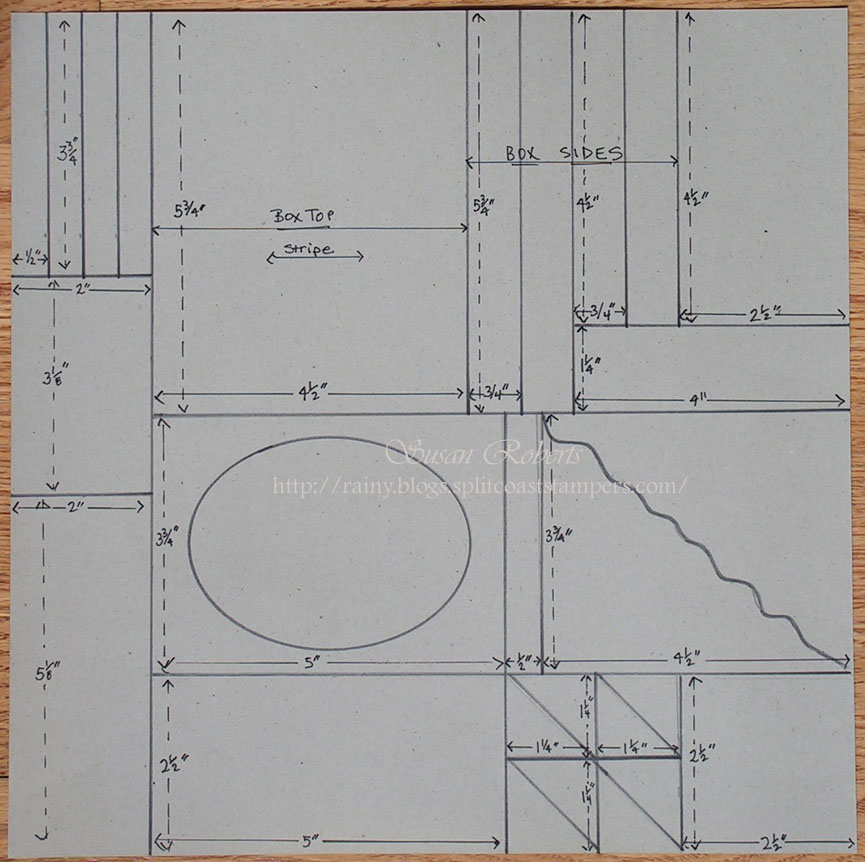
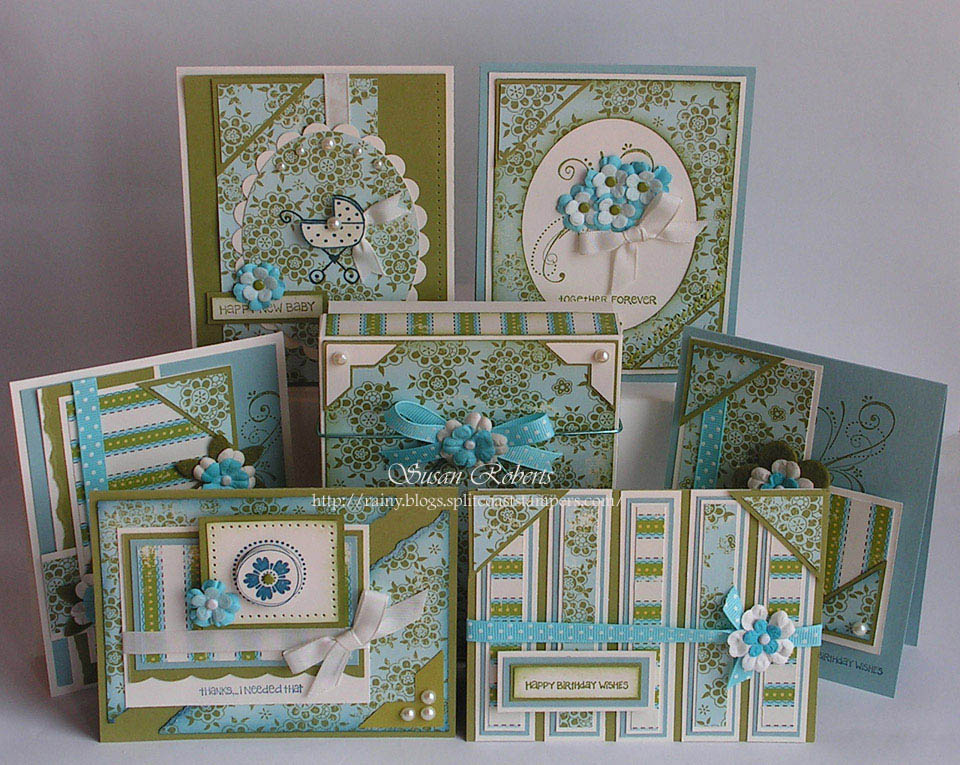
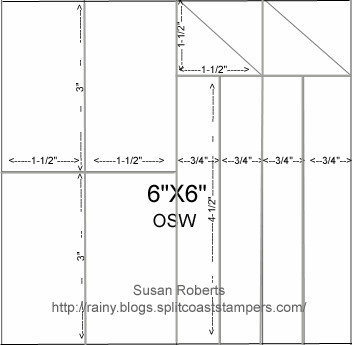
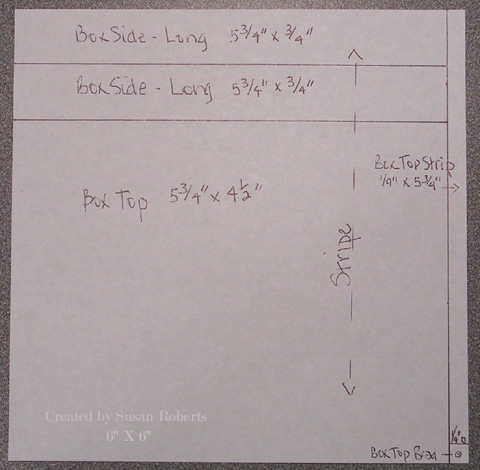
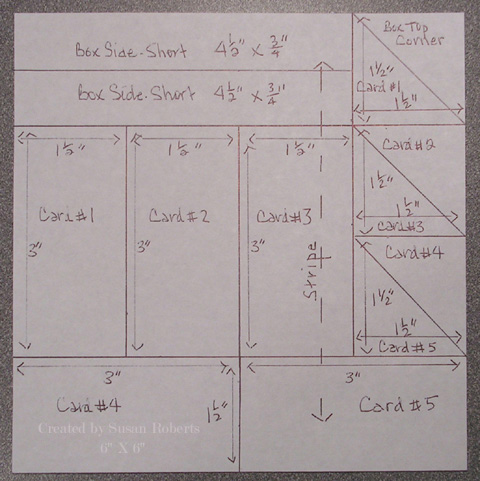
A One Sheet Wonder (OSW) is when a single piece of designer paper (dp) is used for several cards/projects with no or very very little waste left over. After playing in Splitcoaststampers Clean and Simple Challenge a couple of weeks ago using a 3″ x 4″ piece of dp, I decided to divide the entire 12″ x 12″ double sided sheet of dp into 3″ x 4″ pieces. That gave enough pieces to create as many as 12 cards all with a healthy helping of precious patterned goodness!
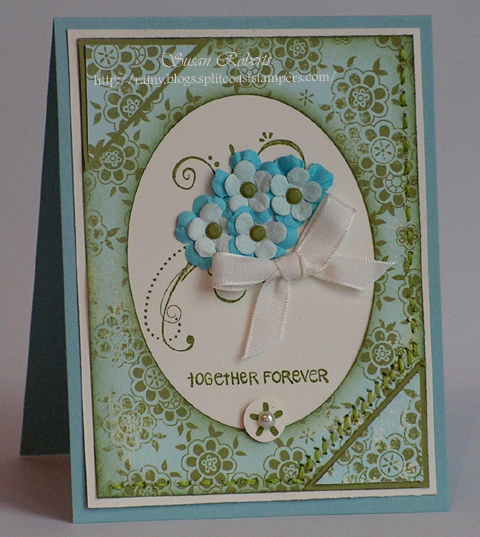
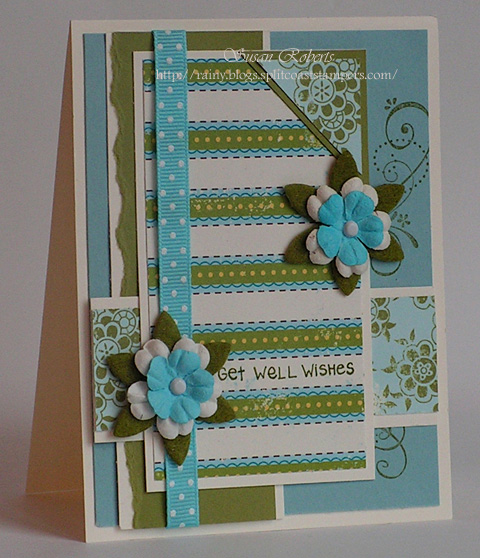
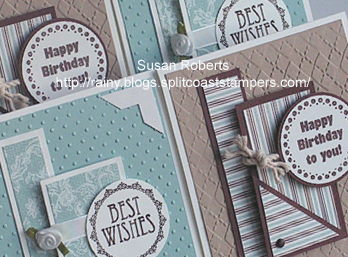
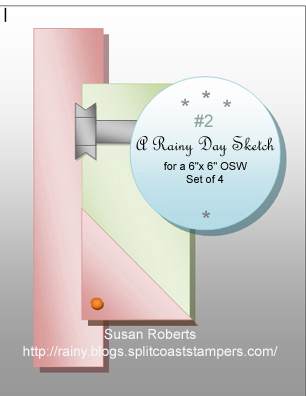
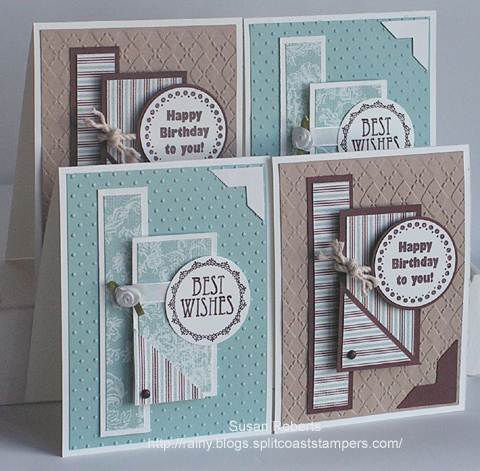
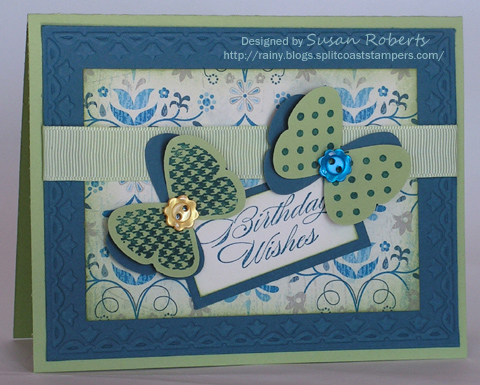
3 sketches were created all using a 3″ x 4″ sized piece of dp. Today’s Color Challenge at Splitcoast was to use a blue, a lighter blue and a light green on a card or project. One side of this particular dp already had the two blues. By sponging Certainly Celery around the edges, punching a couple of light green butterflies and adding some light green ribbon, the color challenge was met.

I love designer paper SO much.![]() So when using it, I like to challenge myself to create as little waste as possible. Planning ahead really helps. Hope maybe these sketches can help you, too, to use every inch of paper for something beautiful.
So when using it, I like to challenge myself to create as little waste as possible. Planning ahead really helps. Hope maybe these sketches can help you, too, to use every inch of paper for something beautiful.
Happy Crafting!
——————————
(Click on the cards to enlarge.)
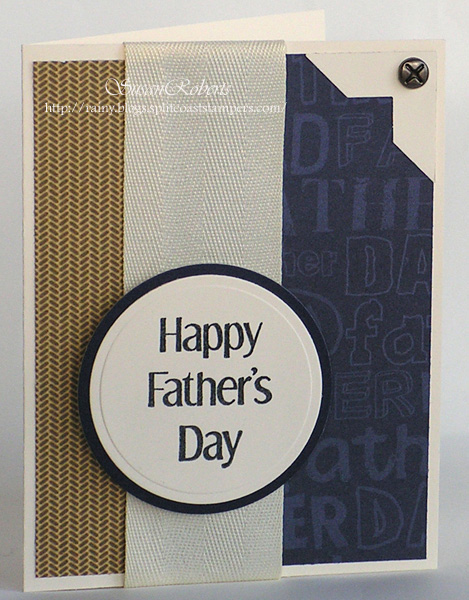
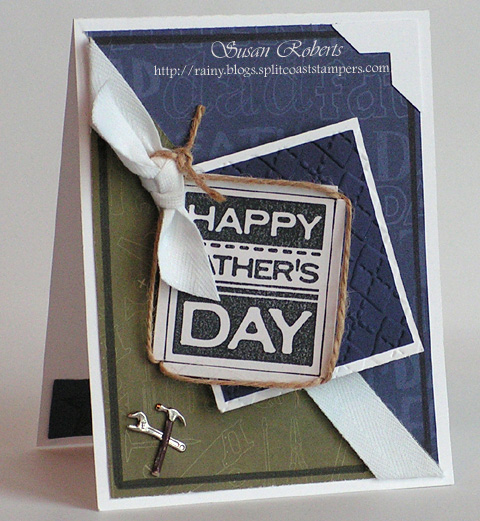
(This is SCS’s CC316 Card)
All Products from Stampin Up
Stamps: Flight of the Butterfly, Butterfly Prints and Bring on the Cake
Papers: Certainly Celery, Not Quite Navy, Very Vanilla and Blueberry Crisp Designer Series
Inks: Certainly Celery and Not Quite Navy
Accessories: Ice Cream Parlor Buttons, Grosgrain Ribbon, Butterfly Punch and Framed Tulip Embossing Folder
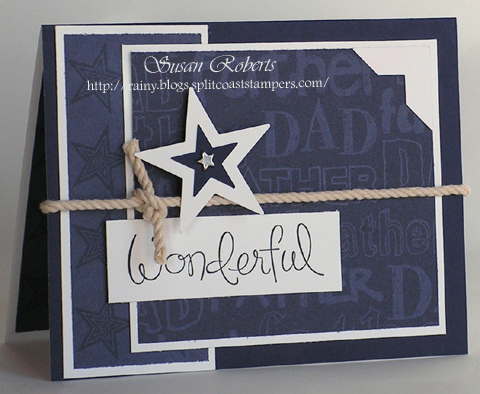
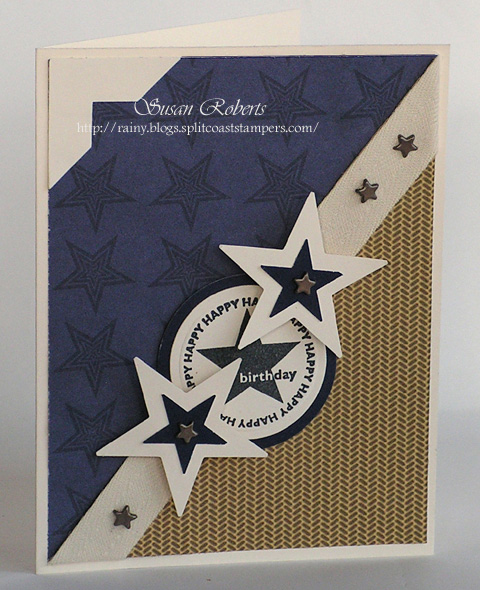
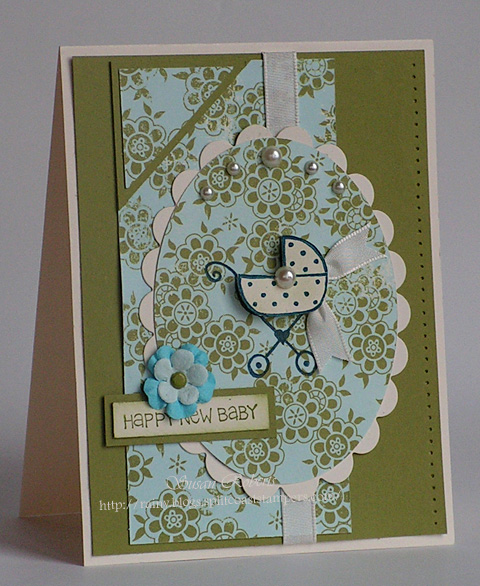
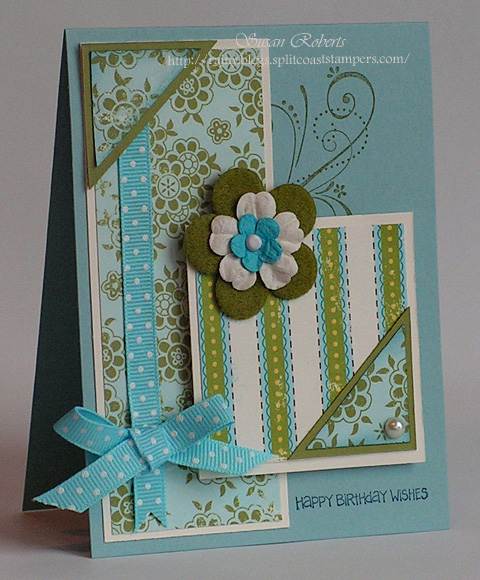
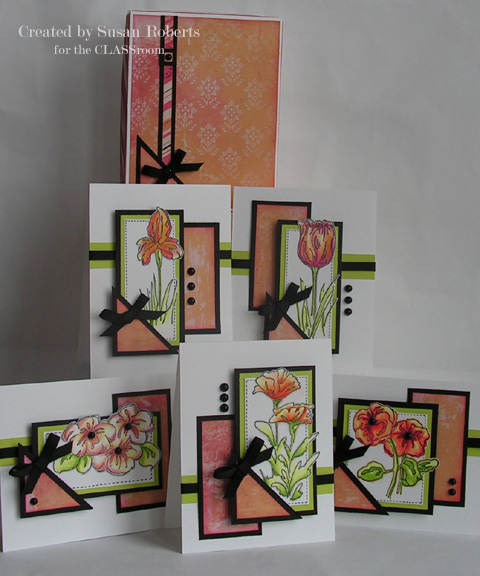
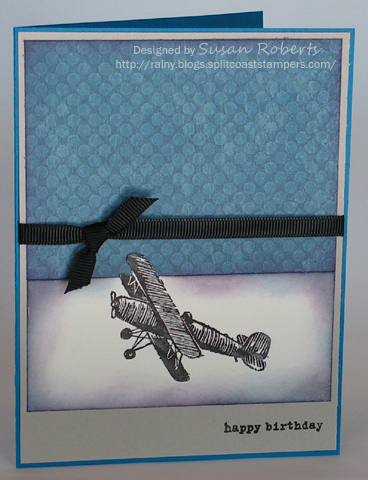
(This is SCS’s CAS110 Card)
All Products from Stampin Up
Stamps: Plane and Simple
Papers: Pacific Point, Sahara Sand, Very Vanilla, Blueberry Crisp Designer Series
Inks: Basic Black and Not Quite Navy
Accessories: Grosgrain Ribbon

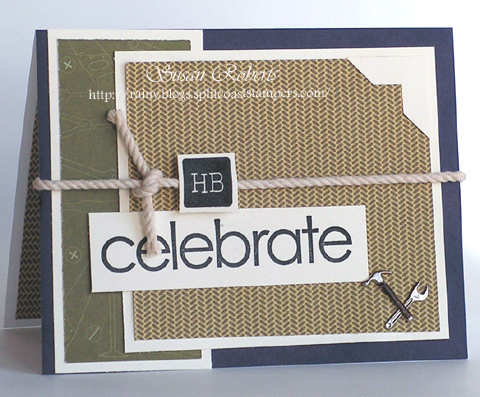
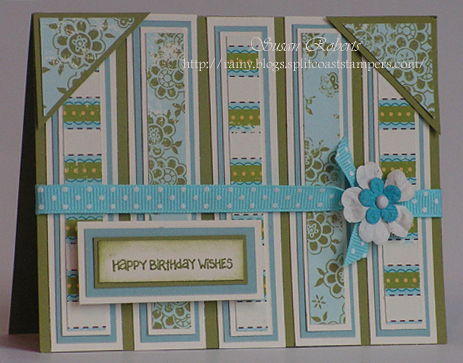
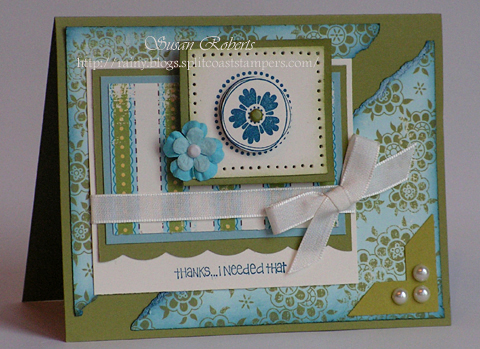
All Products from Stampin Up
Stamps: Bold Blossom and Bring on the Cake
Papers: Pacific Point, Yoyo Yellow, Very Vanilla and Blueberry Crisp Designer Series
Inks: Not Quite Navy and Summer Sun
Accessories: Grosgrain Ribbon, Not Quite Navy Brad and 3/4″ and 1″ Circle Punches