So two of today’s cards were for challenges… from last week. I didn’t get a chance to post them before the challenges closed, but decided to share them today anyway.![]()
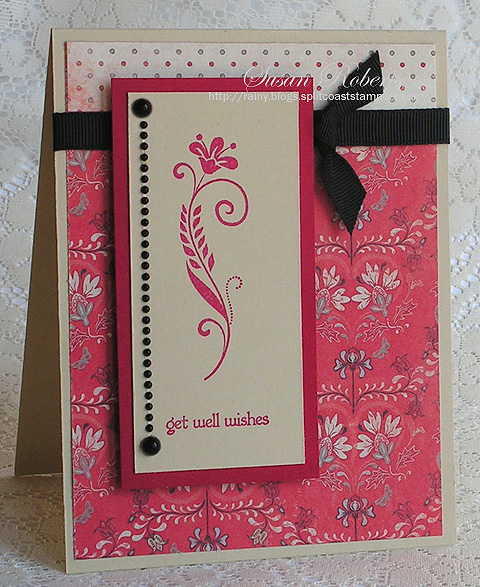
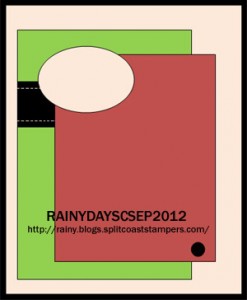
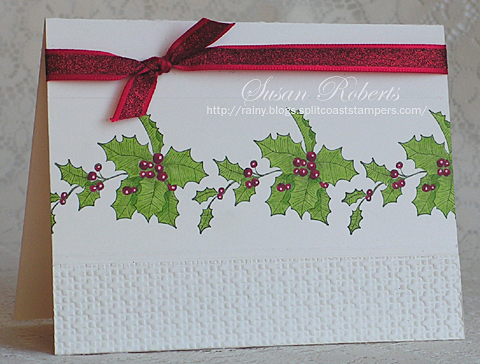
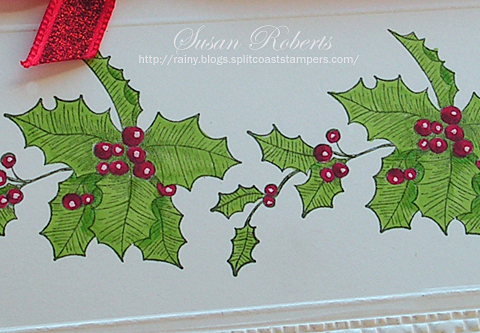
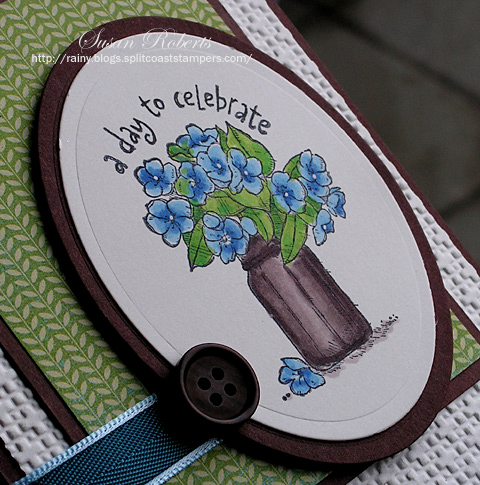
The first card, however, is the one that is actually not late. LOL It is for today’s Splitcoaststampers Sketch Challenge #422.
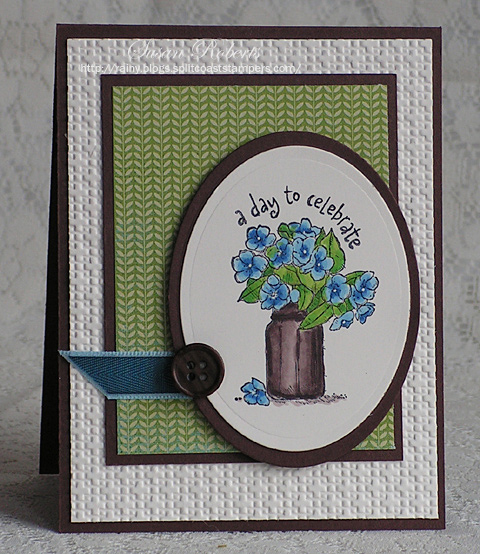
LOVED this sketch. Added some texture with the embossing and popped up the image for a little depth. I curved the clear photopolymer sentiment stamp when placing it on the acrylic block so that it wrapped around the top of the bouquet when stamped. To help hold the “curve” of the clear stamp in place, a little double sided tape was first placed on the block.
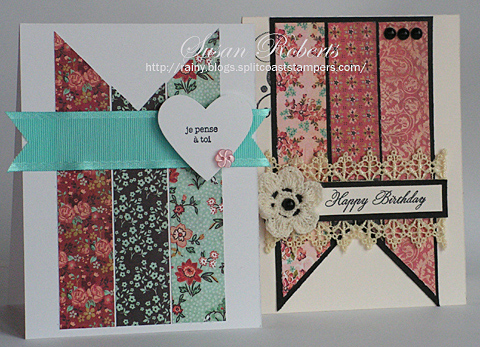
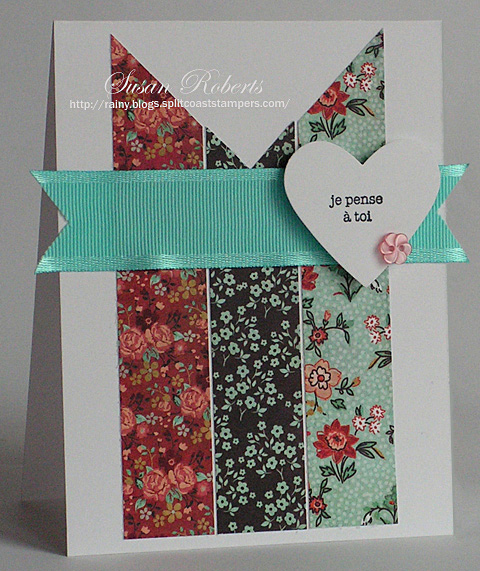
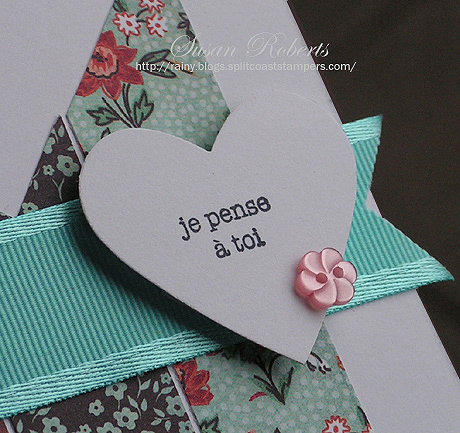
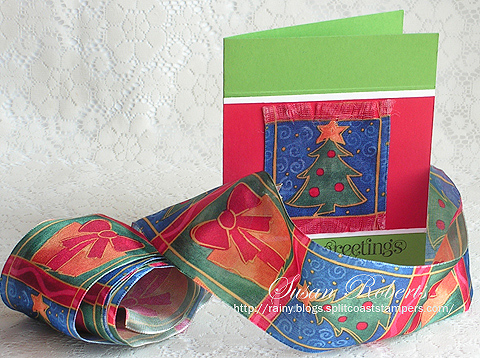
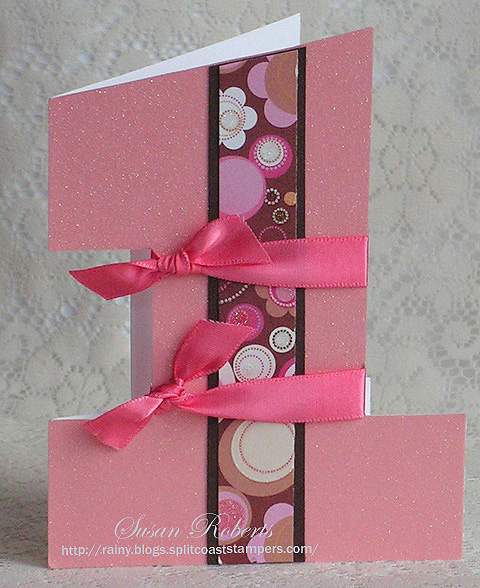
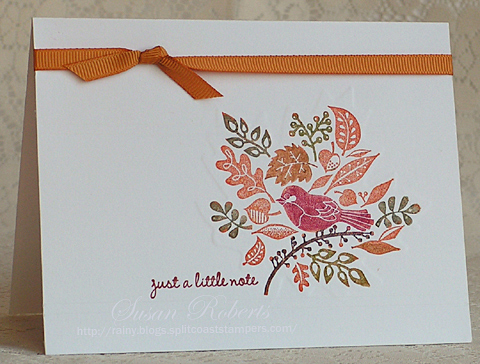
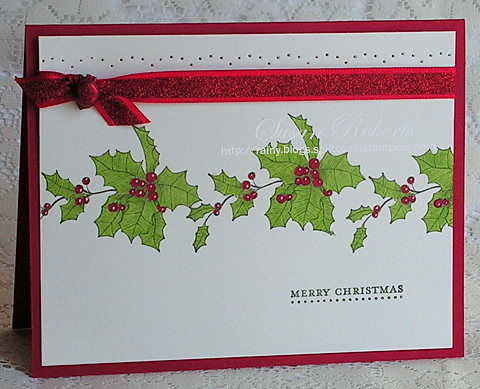
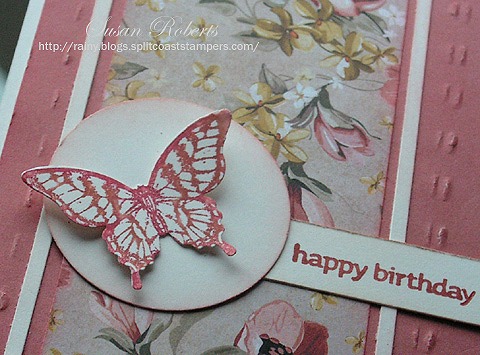
This second card was for two challenges: ColourQ Challenge #173 and the Freshly Made Sketches #70.
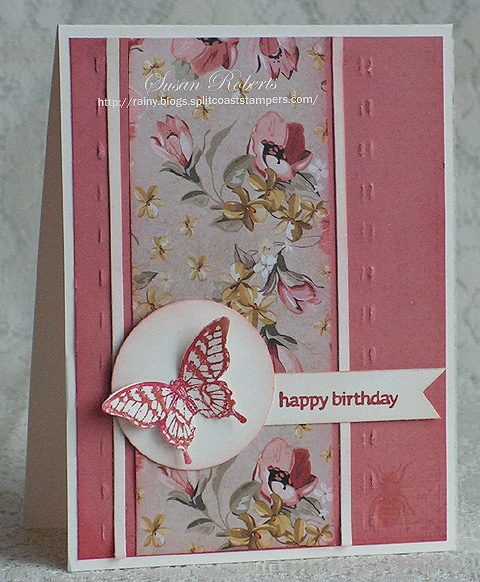
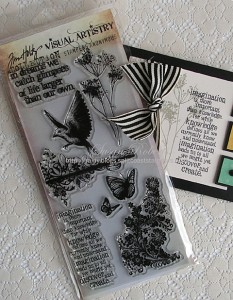
I got to try out my new butterfly image and punch. Love it!
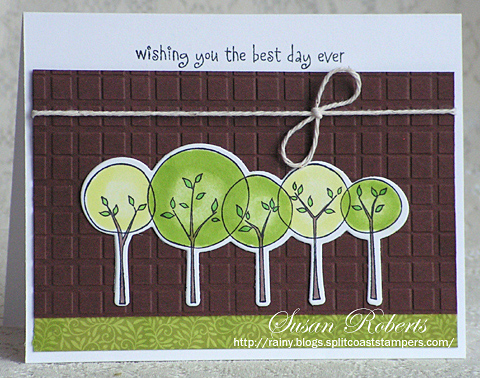
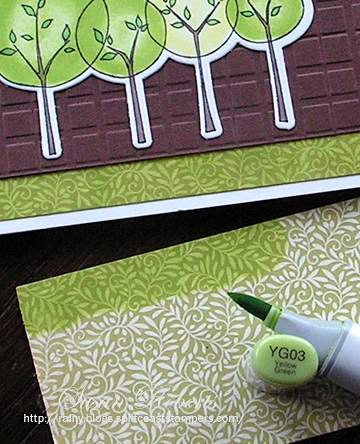
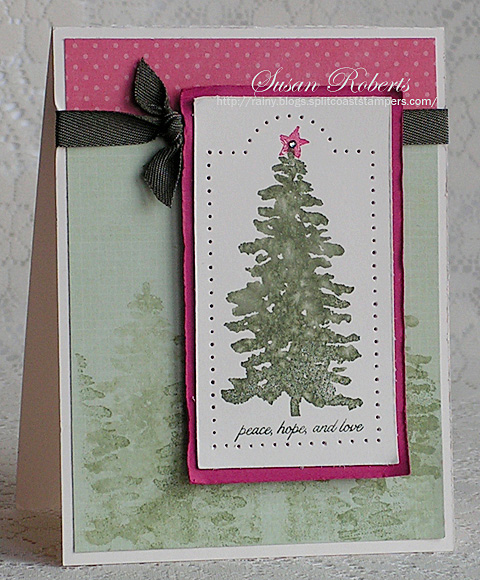
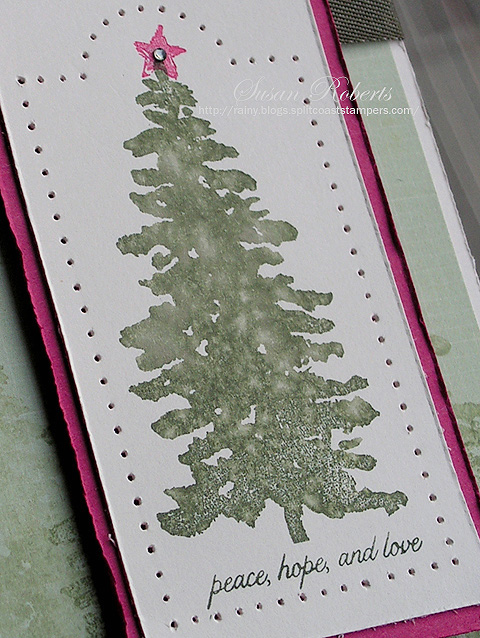
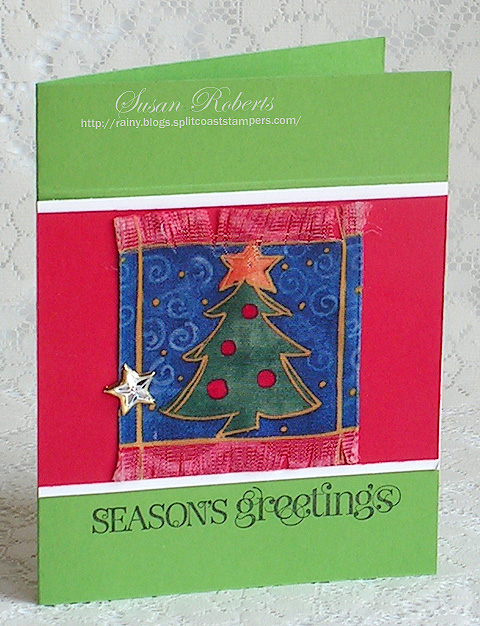
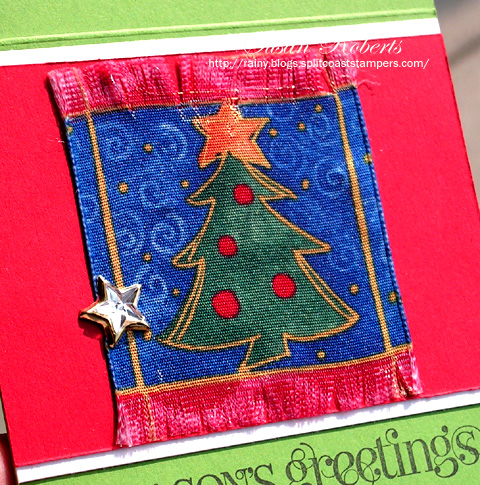
And finally this third card was for the Splitcoaststampers Sketch Challenge #421 from last week.
The Pure Innocence images from MFT are just so sweet!

Well even though a couple of these cards were too late to qualify for some of the challenges, I did have fun making them. Guess that’s the most important thing.. right?

Happy Crafting!
——————————
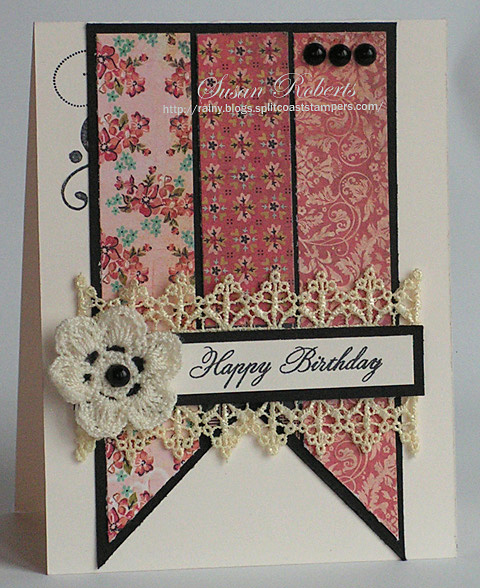
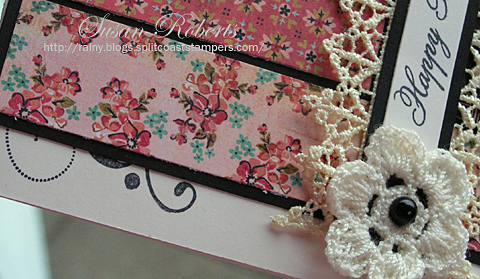
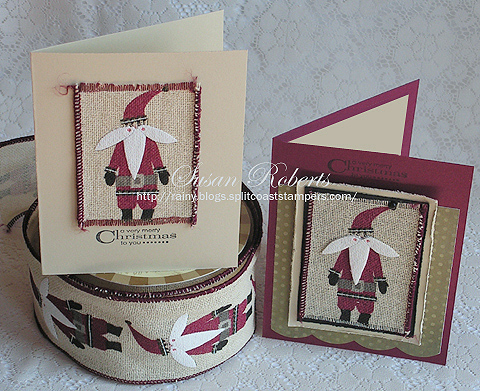
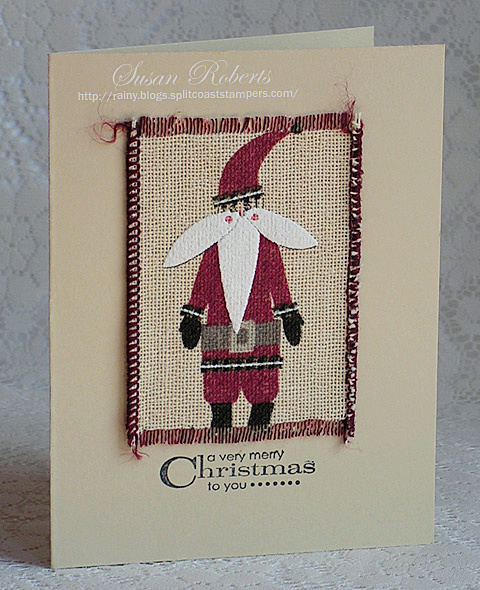
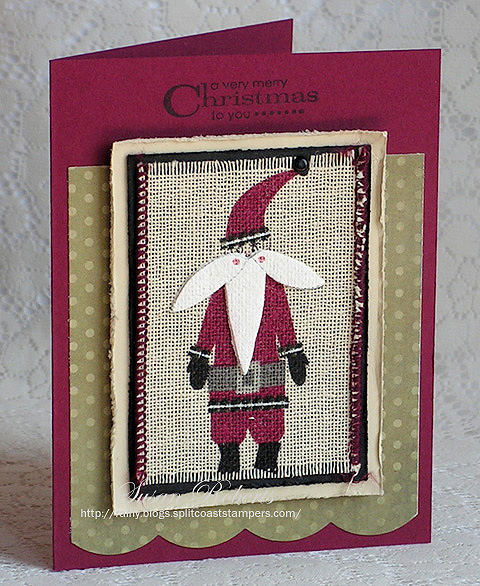
Card #1:
Stamps: SU On the Grow; Hero Arts Birthday Messages
Papers: PTI Vintage Cream and Dark Chocolate; Kaiser Craft “Marigold”
Inks: Memento Tuxedo Black; White Gel Pen; Copics:
![]()
![]()
![]()
![]()
![]()
![]()
![]()
![]()
![]()
![]()
![]()
![]()
Accessories: PTI Spring Rain Satin Ribbon and Enchanted Evening Twill Tape; SU Designer Naturals Button and Square Lattice Embossing Folder; Nestabilities Classic Ovals
Card #2:
Stamps: SU Stacks of Wishes and Papillon Potpourri
Papers: PTI Vintage Cream; Kaiser Craft “Forget Me Not” Designer Paper
Inks: SU Really Rust, Apricot Appeal and Blush Blossom
Accessories: SU Elegant Butterfly Punch; 1-3/4″ Circle Punch; SU Simply Scored
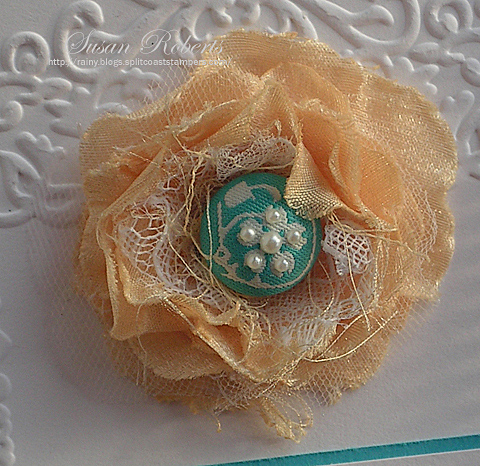
Card #3:
Stamps: MFT Pure Innocence Sunshiny Day
Papers: PTI Scarlet Jewel and Select White; Designer Paper Unknown
Inks: Memento Tuxedo Black; Copics:
![]()
![]()
![]()
![]()
![]()
![]()
![]()
![]()
![]()
![]()
![]()
![]()
![]()
![]()
![]()
![]()
![]()
![]()
![]()
![]()
![]()
Accessories: Prima; Heart Brad; Raffia; Paper Piercer; Corner Rounder Punch; Martha Stewart Scoring Board